Exploring video game worlds is an experience full of excitement, exploration, and of course, secrets. These hidden treasures and obscure pathways are what make adventure games like Black Myth: Wukong so thrilling. Chapter 4 of Black Myth: Wukong takes things up a notch, offering players a labyrinth of secrets, powerful bosses, and valuable loot. If you’re ready to dive deeper into this visually stunning game inspired by Chinese mythology, then buckle up—this guide is about to take you on a wild ride through Chapter 4, uncovering every nook and cranny of secrets and treasures!
Table of Contents
Introduction to Chapter 4: A Labyrinth of Secrets
Chapter 4 introduces a sprawling, intricate environment that is anything but linear. The level design feels like a maze, with hidden passages, traps, and plenty of places to get lost (both figuratively and literally). In this chapter, it’s not just about charging through enemies and slaying bosses—it’s about exploration, puzzle-solving, and digging deep to find rewards that’ll give you a serious edge in your adventure. This guide will help you uncover the shrines, bosses, and hidden items of Chapter 4, all while making sure you maximize your loot and experience points.
Ready to get lost? Let’s start!
Key Locations and Secrets in Chapter 4
1. Starting Point: Upper Hall of Shrine
Your journey begins at the Upper Hall of Shrine—a location that seems calm at first, but hides some serious mysteries. From here, take a right and ascend the stairs to the first flame you see. It’s kind of like playing the Wukong version of The Floor is Lava—but with more combat and less sweating.
Once you reach the flame, take a leap of faith and drop down. You’ll land in an area filled with cocoons, which might make you question your life choices. Cocoons? Oh yeah, things are about to get real.
Here’s where things get interesting: Use the Ashen Slumber transformation you unlocked in Chapter 3. This spell allows you to unleash a powerful attack, clearing out enemies with ease and, importantly, gaining more experience. You’ll feel like the hero you always wanted to be… until you realize the next room is filled with more cocoons. At least they don’t bite, right?
2. Encountering the Venom Doist
Moving forward, head left to find Venom Doist—this thing is as nasty as it sounds. It’s not your average garden-variety boss; it’s a creature that takes precision, timing, and a little bit of “let’s just get this over with” attitude to defeat.
Approach the Venom Doist’s sack (no, seriously, it’s a sack—don’t ask questions) and go to town. But before you attack, be sure to activate Ashen Slumber, and follow it up with a well-timed flame attack to clear out any enemies that might be lurking around. The Venom Doist drops valuable resources that are perfect for upgrading your gear, so don’t just walk away after the fight. Grab everything—it’s a gold mine in there.
3. The V Shrine and Treasure Chamber
After you’ve conquered the Venom Doist, it’s time to head to the V Shrine, where the real treasure begins. From the shrine, go right and follow the path until you stumble upon a treasure chamber packed with chests. Don’t just rush through it, though—take your time! We’re talking Peach Pit Soak, River Goddess Gord, and maybe a few items you didn’t even know you needed but will absolutely love once you get them.
Trust us on this one—open every chest. These items might look like small rewards, but they’re vital for progressing through the chapter and unlocking those sweet, sweet abilities. Who doesn’t love a nice loot-filled moment?
4. Boss Encounters
Just when you think you’ve found all the treasure, get ready to face your next major boss: the Elder Armor Worm. This armored creature isn’t just about brute strength—it’s a strategic fight that requires skillful dodging, precise attacks, and an understanding of its attack patterns. Pro-tip: When it starts wrapping up like a spring coil, run—fast!
Upon defeating the Elder Armor Worm, you’ll obtain the Proto Armor Worm Spirit. But don’t think this is the end—this item is critical for accessing extra missions in the Zodiac Village, where you can unlock further power-ups. It’s like a weird side-quest that makes you feel like you’re on an endless loop of getting stronger. Good times, right?
5. Climbing the Cliffs: Cliff of Oblivion Shrine
Next up is the Cliff of Oblivion Shrine. Don’t be fooled by the name—this is not a place for weak hearts (or weak legs, for that matter). Climbing up these cliffs requires you to navigate tricky jumps while dodging the Right-Hand Scorpion, a tough enemy that loves to throw poison at you from a distance.
As you climb, take note of the surroundings, because navigating here will help you avoid unnecessary battles with aggressive scorpions. Once you make it up the cliffs, you’ll get your hands on a Talisman, which is great for boosting your powers or unlocking specific upgrades. Yes, it’s a lot of work, but think of the Talisman as your personal “I’m awesome” badge. Wear it proudly.
6. Hidden Pathways and the Sconda Encounter
Things are about to get a little trickier. As you continue deeper into Chapter 4, look for hidden pathways that might seem insignificant but actually lead to some of the best rewards. One of these paths leads to the Hut of Immortality—and no, it’s not a spa.
Here, you’ll be met with multiple boss battles, and the final fight culminates in a face-off with the Sconda. Think of the Sconda as a cross between a serpent and a dragon—but with more attitude. Sconda is no slouch, so prepare your best attacks and defensive strategies. This fight is key for unlocking special abilities and resources that’ll help you through the next chapters. Also, there might be an impressive loot drop, so don’t be shy—collect what you can.
Mid-Chapter Exploration: The Labyrinth Effect
Now that you’ve tackled the big stuff, it’s time to dive into the Webbed Hollow—a place so maze-like, it makes your GPS look like a toddler’s drawing. This area can be disorienting, so mark your maps and take your time. You don’t want to miss any of the hidden paths that only become available once certain conditions are met. Oh, and watch out for Commander Beetles. These guys are total boss material and are ready to ruin your day. Feel free to skip the battle if you’re more into speed running, but if you’re here for the loot, then take them down.
7. Treasure and Talisman Collections
In the Court of Illumination, there’s a chance that things might glitch—so make sure to grab the fourth Talisman before facing the boss. It’s not just a collectible; it’s a game-changer. Managing your route carefully while collecting treasure will significantly improve your character’s strength. Trust me, the extra stats are a lifesaver when you face the final boss. This isn’t the time for shortcuts; you’ll thank me when you’re standing victorious.
8. The Secret Level: Purple Cloud Mountain
Just when you think you’ve seen everything, BAM, the Secret Level of Chapter 4 appears. Purple Cloud Mountain is as stunning as it is mysterious, and inside, you’ll encounter a snake. Chat with it—you never know what secrets it might share. It could lead you to hidden quests or, even better, spirit transformations that allow you to change your powers mid-level.
Be sure to focus on collecting spirits during this section, as they’re essential for unlocking abilities that will be key in the later parts of the game. Pro-tip: Keep an eye on your spiritual energy—don’t waste it all in the early parts of the level. You’ll need it.
9. Final Boss: The Dusk Veil
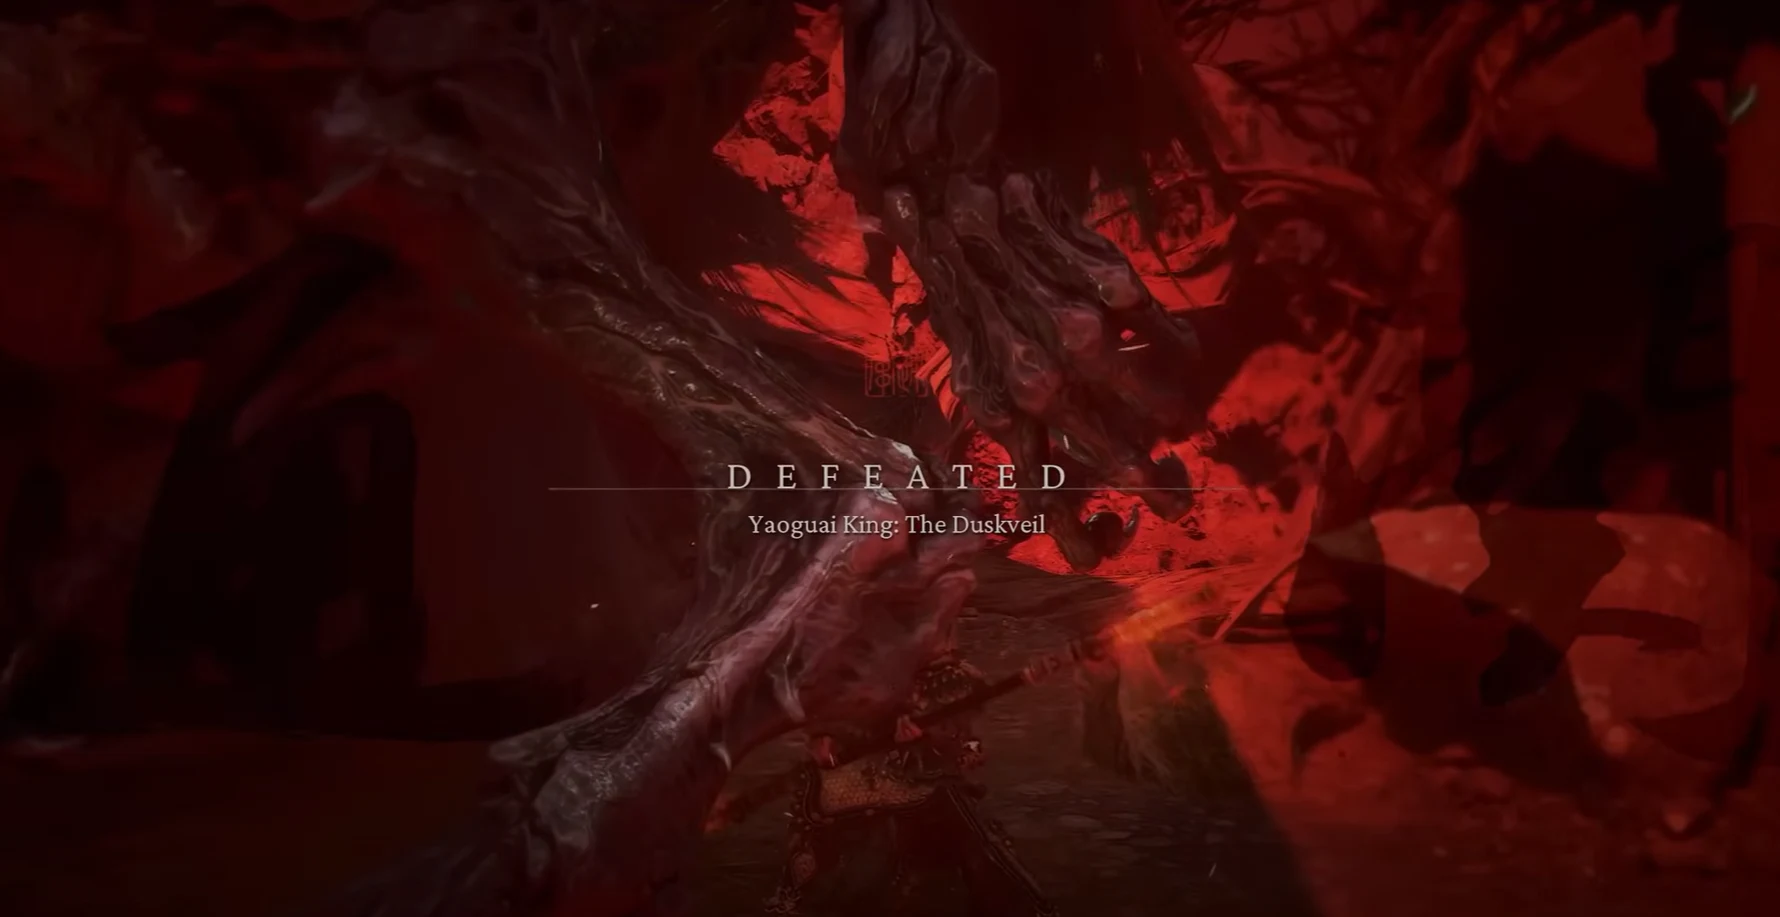
And now, we reach the grand finale of Chapter 4: the Dusk Veil. This boss fight will push your skills to the limit. The Dusk Veil isn’t just powerful—it’s strategically complex, with multiple phases and tricky attack patterns. Make sure your equipment is upgraded, and don’t skimp on potions. You’re going to need everything at your disposal.
Once you defeat this imposing foe, you’ll be rewarded with the Weaver’s Needle, an item that’s crucial for future challenges. Don’t forget to give yourself a pat on the back after this one—defeating the Dusk Veil is no small feat.
Conclusion: Mastering Chapter 4 Secrets
Successfully navigating Chapter 4 of Black Myth: Wukong isn’t just about brute force—it’s about strategy, exploration, and finding those hidden treasures. This chapter blends compelling storytelling with intricate level design, making it one of the most enjoyable yet challenging chapters in the game.
By uncovering all the shrines, bosses, and secrets, you’ll find yourself fully immersed in the world of Black Myth: Wukong, with stronger abilities, better loot, and a deeper understanding of the story. So, next time you set foot in the Upper Hall of Shrine, remember: it’s not just about the destination; it’s about every twist and turn along the way.
Good luck, and happy hunting!






Leave a Reply